Fastest Way to Upload Documents to Sharepoint
This browser is no longer supported.
Upgrade to Microsoft Edge to take reward of the latest features, security updates, and technical support.
Note
This is an open-source article with the community providing support for information technology. For official Microsoft content, come across Microsoft 365 documentation.
This guide volition assist users empathize the various options available to import files and information into SharePoint. We cover several different approaches:
| Method | Type of User |
|---|---|
| Document Libraries – Drag and drop files and folders | End user |
| Certificate Libraries – Upload files and folders | Power user |
| Certificate Libraries – Copy to and Motility to | Ability user |
| Lists – Consign Spreadsheet to SharePoint | Power user |
| Lists – Import Spreadsheet to SharePoint | Power user |
| Document Libraries – SharePoint Migration Tool | Power user |
| Document Libraries – Sync | Power user |
Document Libraries – Drag and drop files and folders (User)
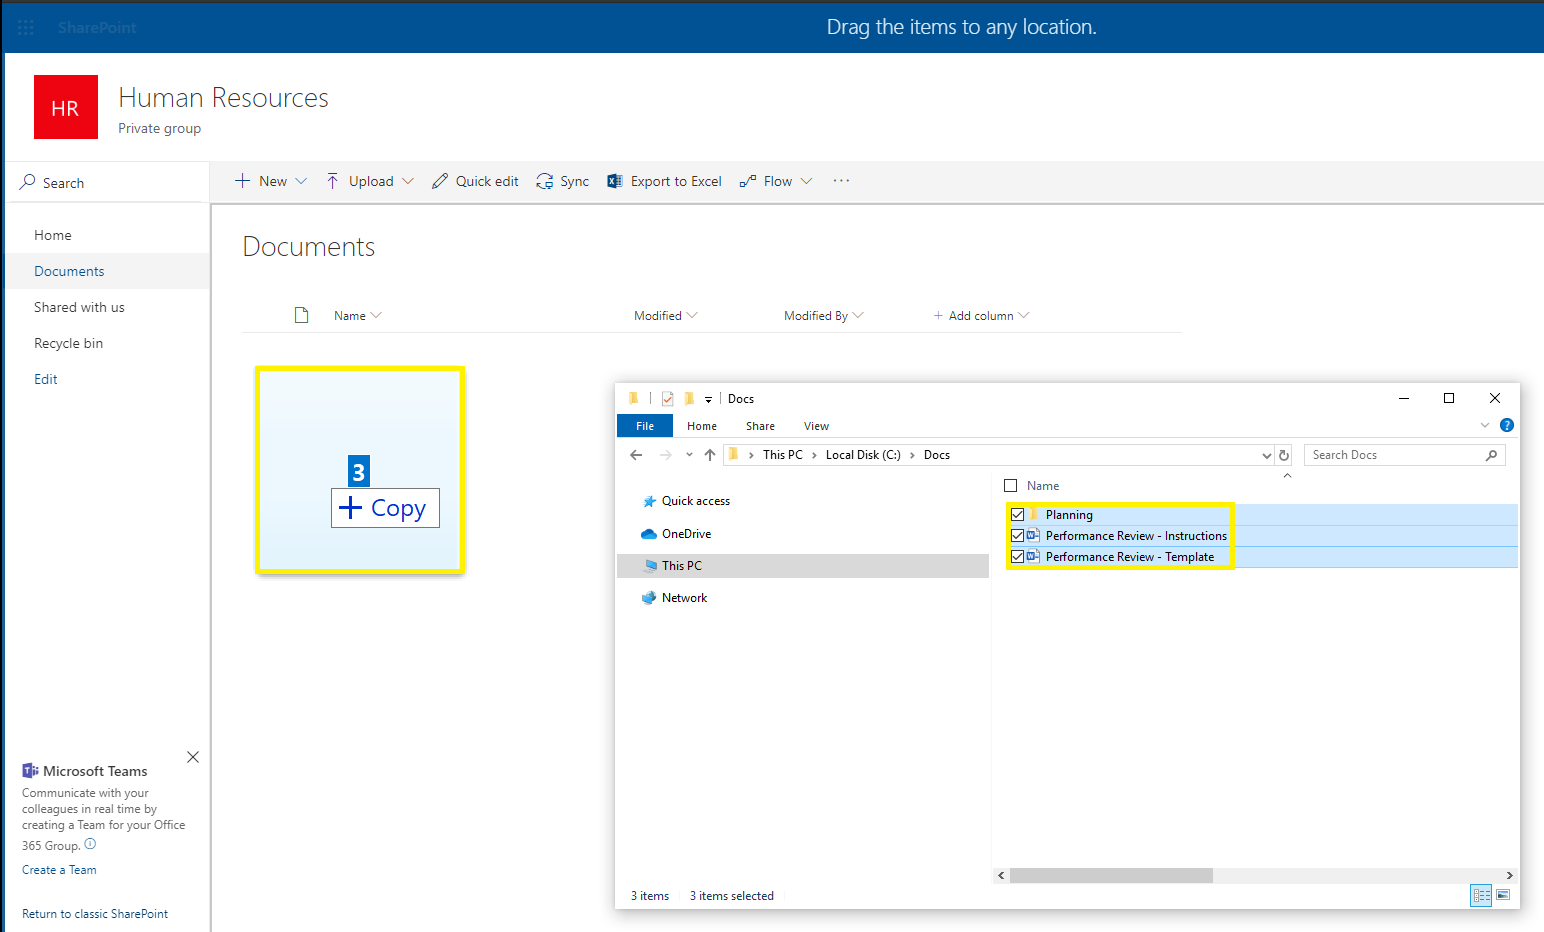
SharePoint document libraries support the elevate and driblet of files and folders from figurer to site. With the target site and document library open up:
-
Select the source files / folders.
-
Drag to the site and release.
- The upload condition can be monitored using the "Testify progress" button on the document library card.
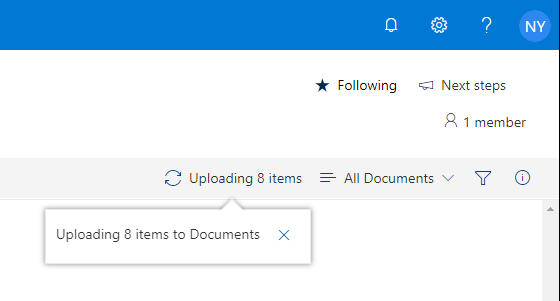
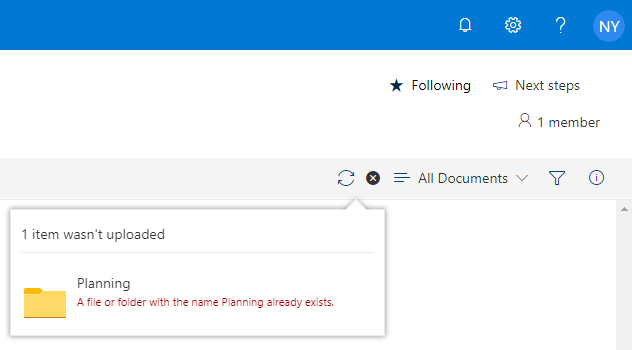
- The "Bear witness progress" push will notify you of any errors and when possible provide an intervention.
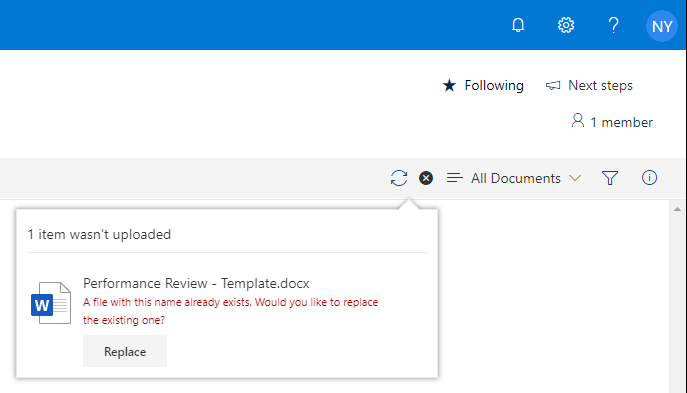
- Instance error image shown beneath:
Certificate Libraries – Upload files and folders (User)
Like the elevate and drop of files and folders, SharePoint document libraries also back up the straight uploading files and folders. With the target site and document library open:
- Click "Upload" and select "Files" or "Binder".
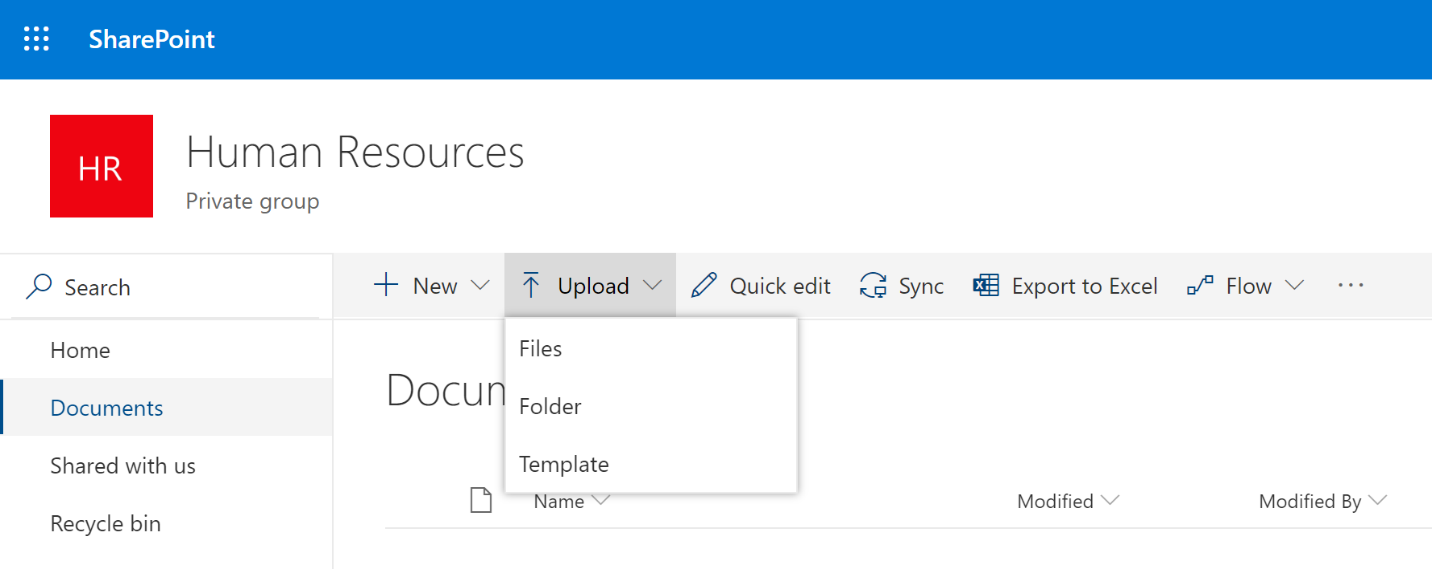
The "Files" selection does not permit the uploading of folders. Similarly, the "Folder" selection does not allow files.
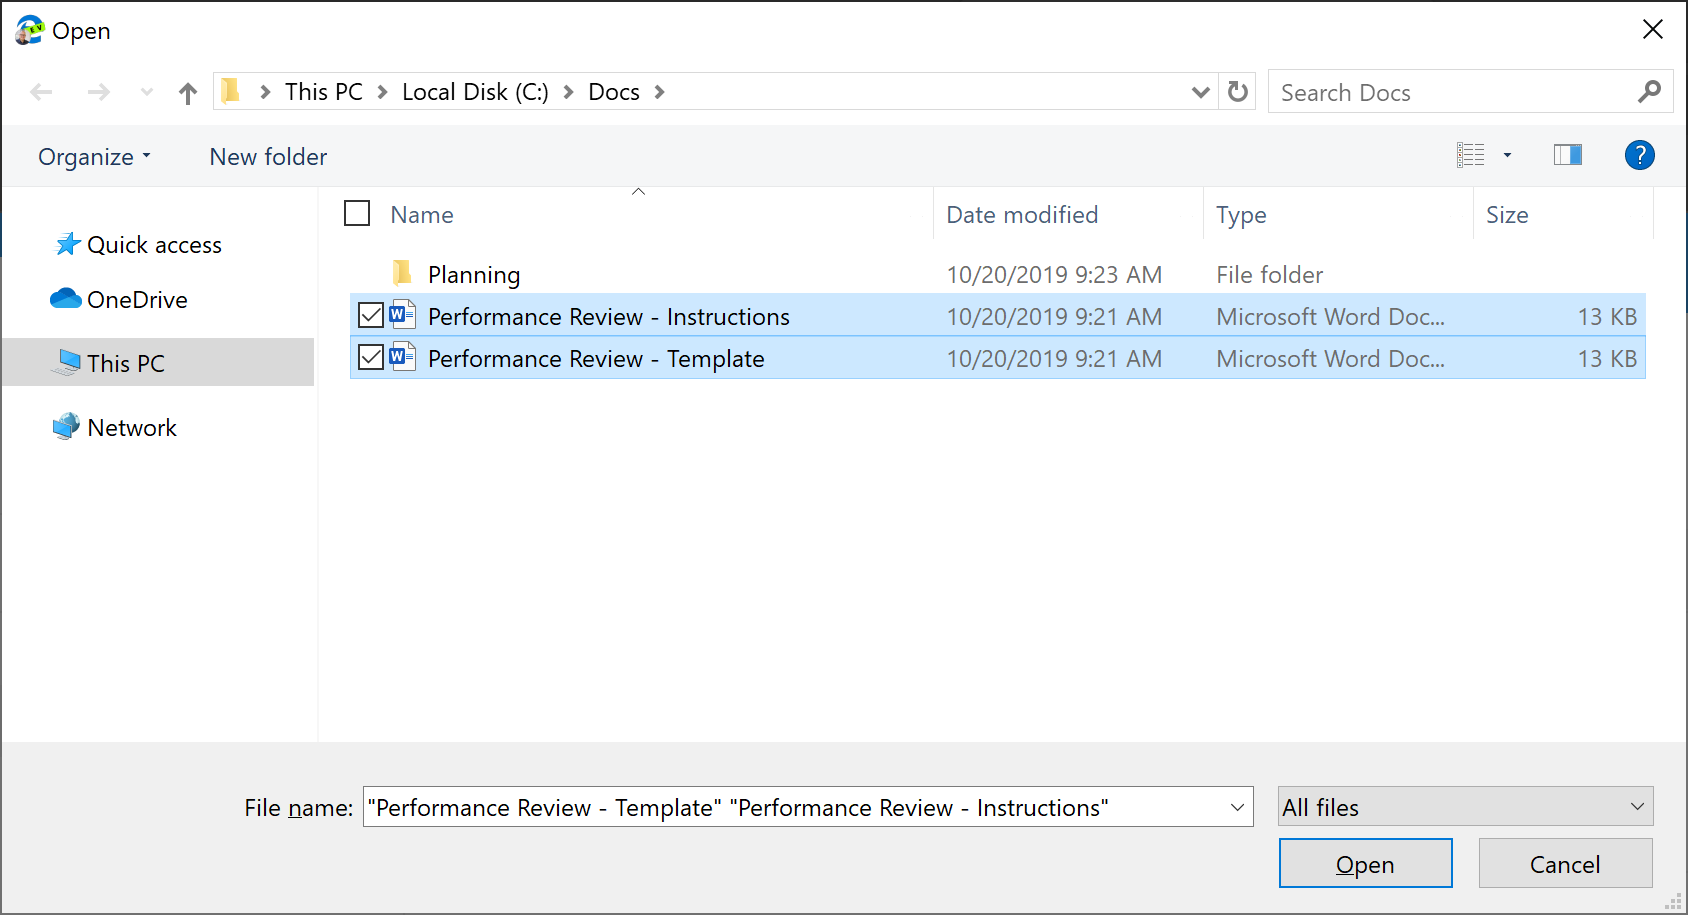
- Select the source files / folders and click "Open".
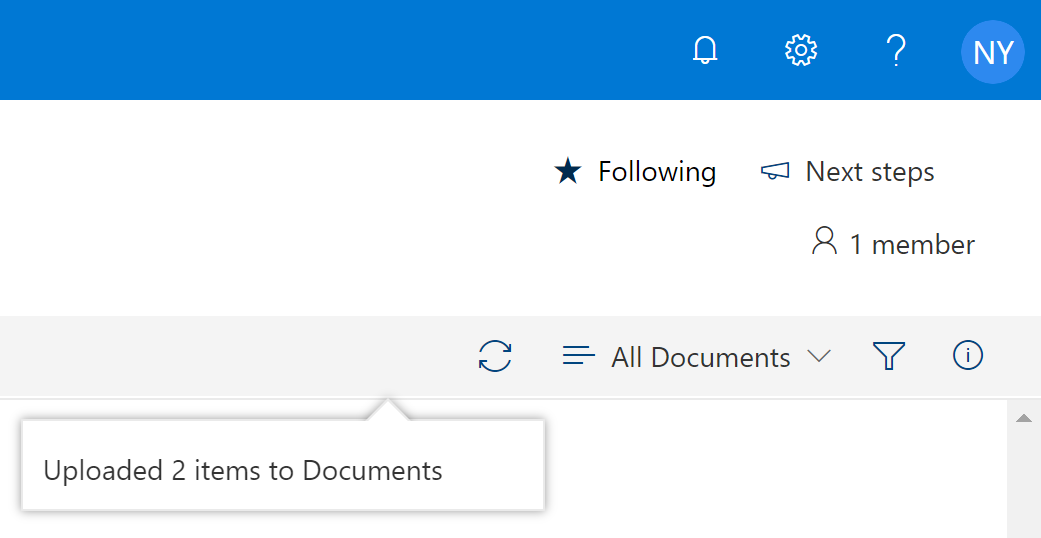
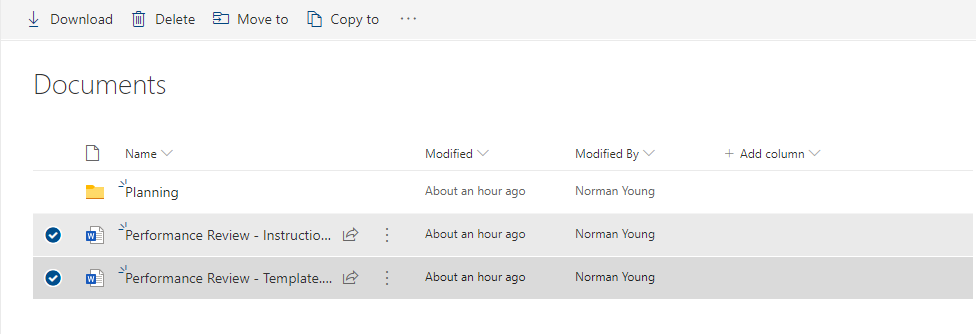
- The "Show progress" button volition notify you lot of whatever errors and when possible provide an intervention.
Certificate Libraries – Copy to and Movement to (Power user)
SharePoint document libraries support the copying and moving of files / folders to new locations. New locations tin can include a different binder, document library or site, including OneDrive for Business.
The "Copy to" feature will copy the files / folders to the new location while leaving the source files / folders unchanged. With the target site and document library open up:
- Select the source files / folders and click "Copy to".
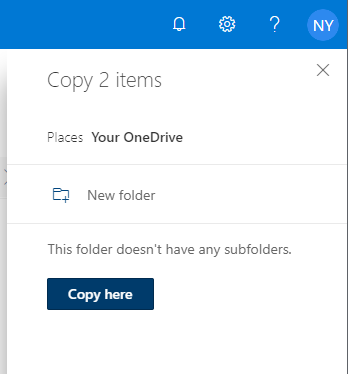
- Select the target location (i.e. "Your OneDrive").
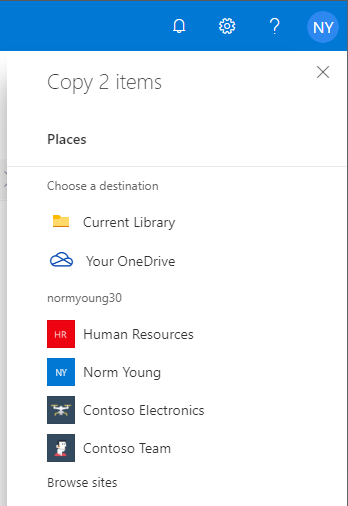
- Click "Re-create hither" to consummate the file / folder re-create.
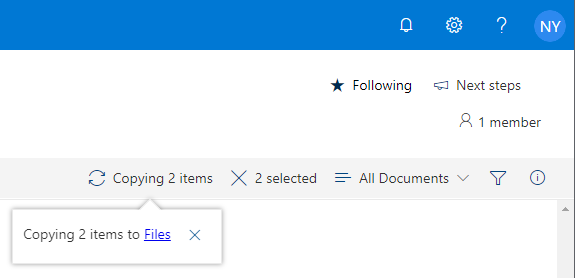
- The "Show progress" button will notify you lot of any errors and when possible provide an intervention.
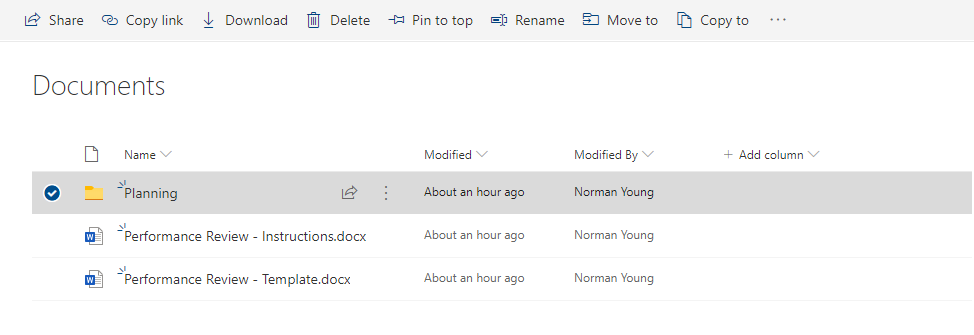
The "Move to" feature will copy the files / folders to the new location and will movement the source files / folders to the site "Recycle bin". With the target site and document library open:
- Select the source files / folders and click "Move to".
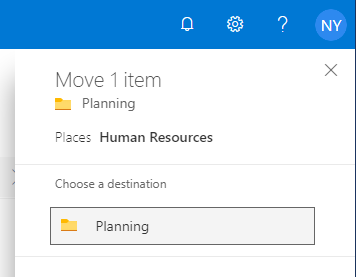
- Select the target location (i.due east. "Planning" certificate library).
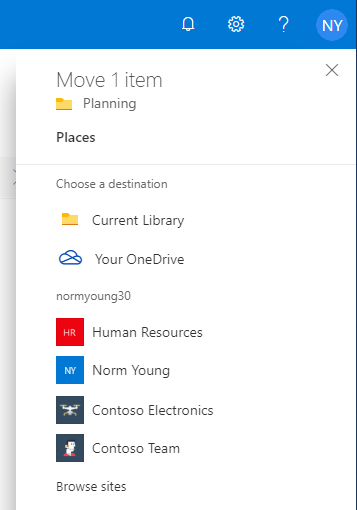
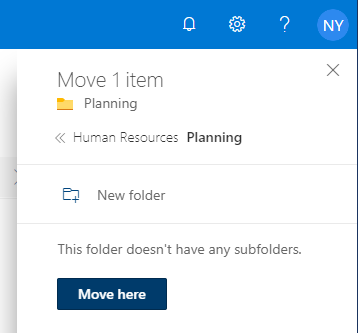
- Click the target site (i.e. "Homo Resource" site) and and so click the target document library (i.e. "Planning").
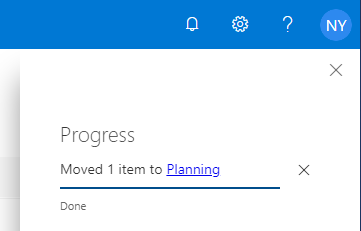
- Click "Move here" to consummate the file / folder move.
- The "Bear witness progress" button tin also be used to view the progress of a copy or upload performance.
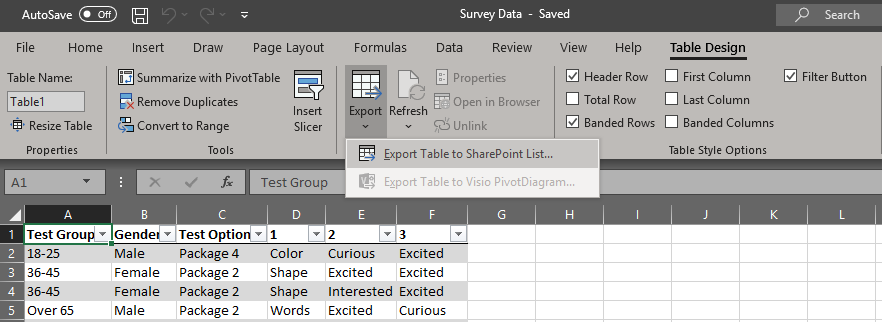
Microsoft Excel supports the exporting of "Tables" from spreadsheets to new SharePoint lists. With the source spreadsheet open:
-
Click "Tabular array Design".
-
Click "Export" and select "Export Table to SharePoint Listing…".
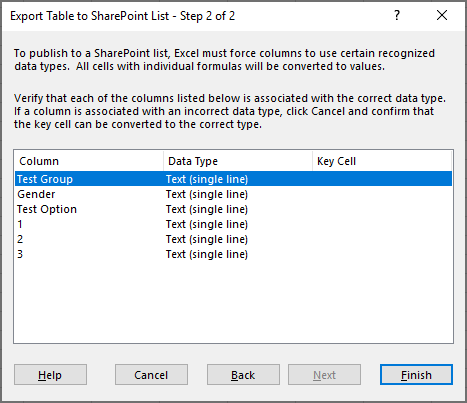
- Enter the target "Address"; provide a listing name and click "Adjacent".

- Review the list design and click "End".
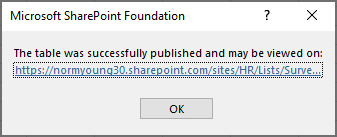
- Click the URL to view the new SharePoint listing. Click "OK" to exit the export wizard.
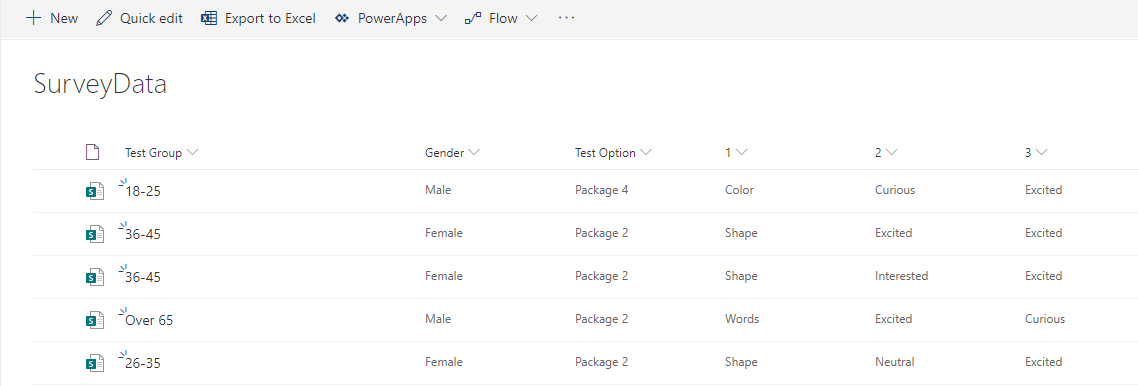
- Example exported list shown beneath:
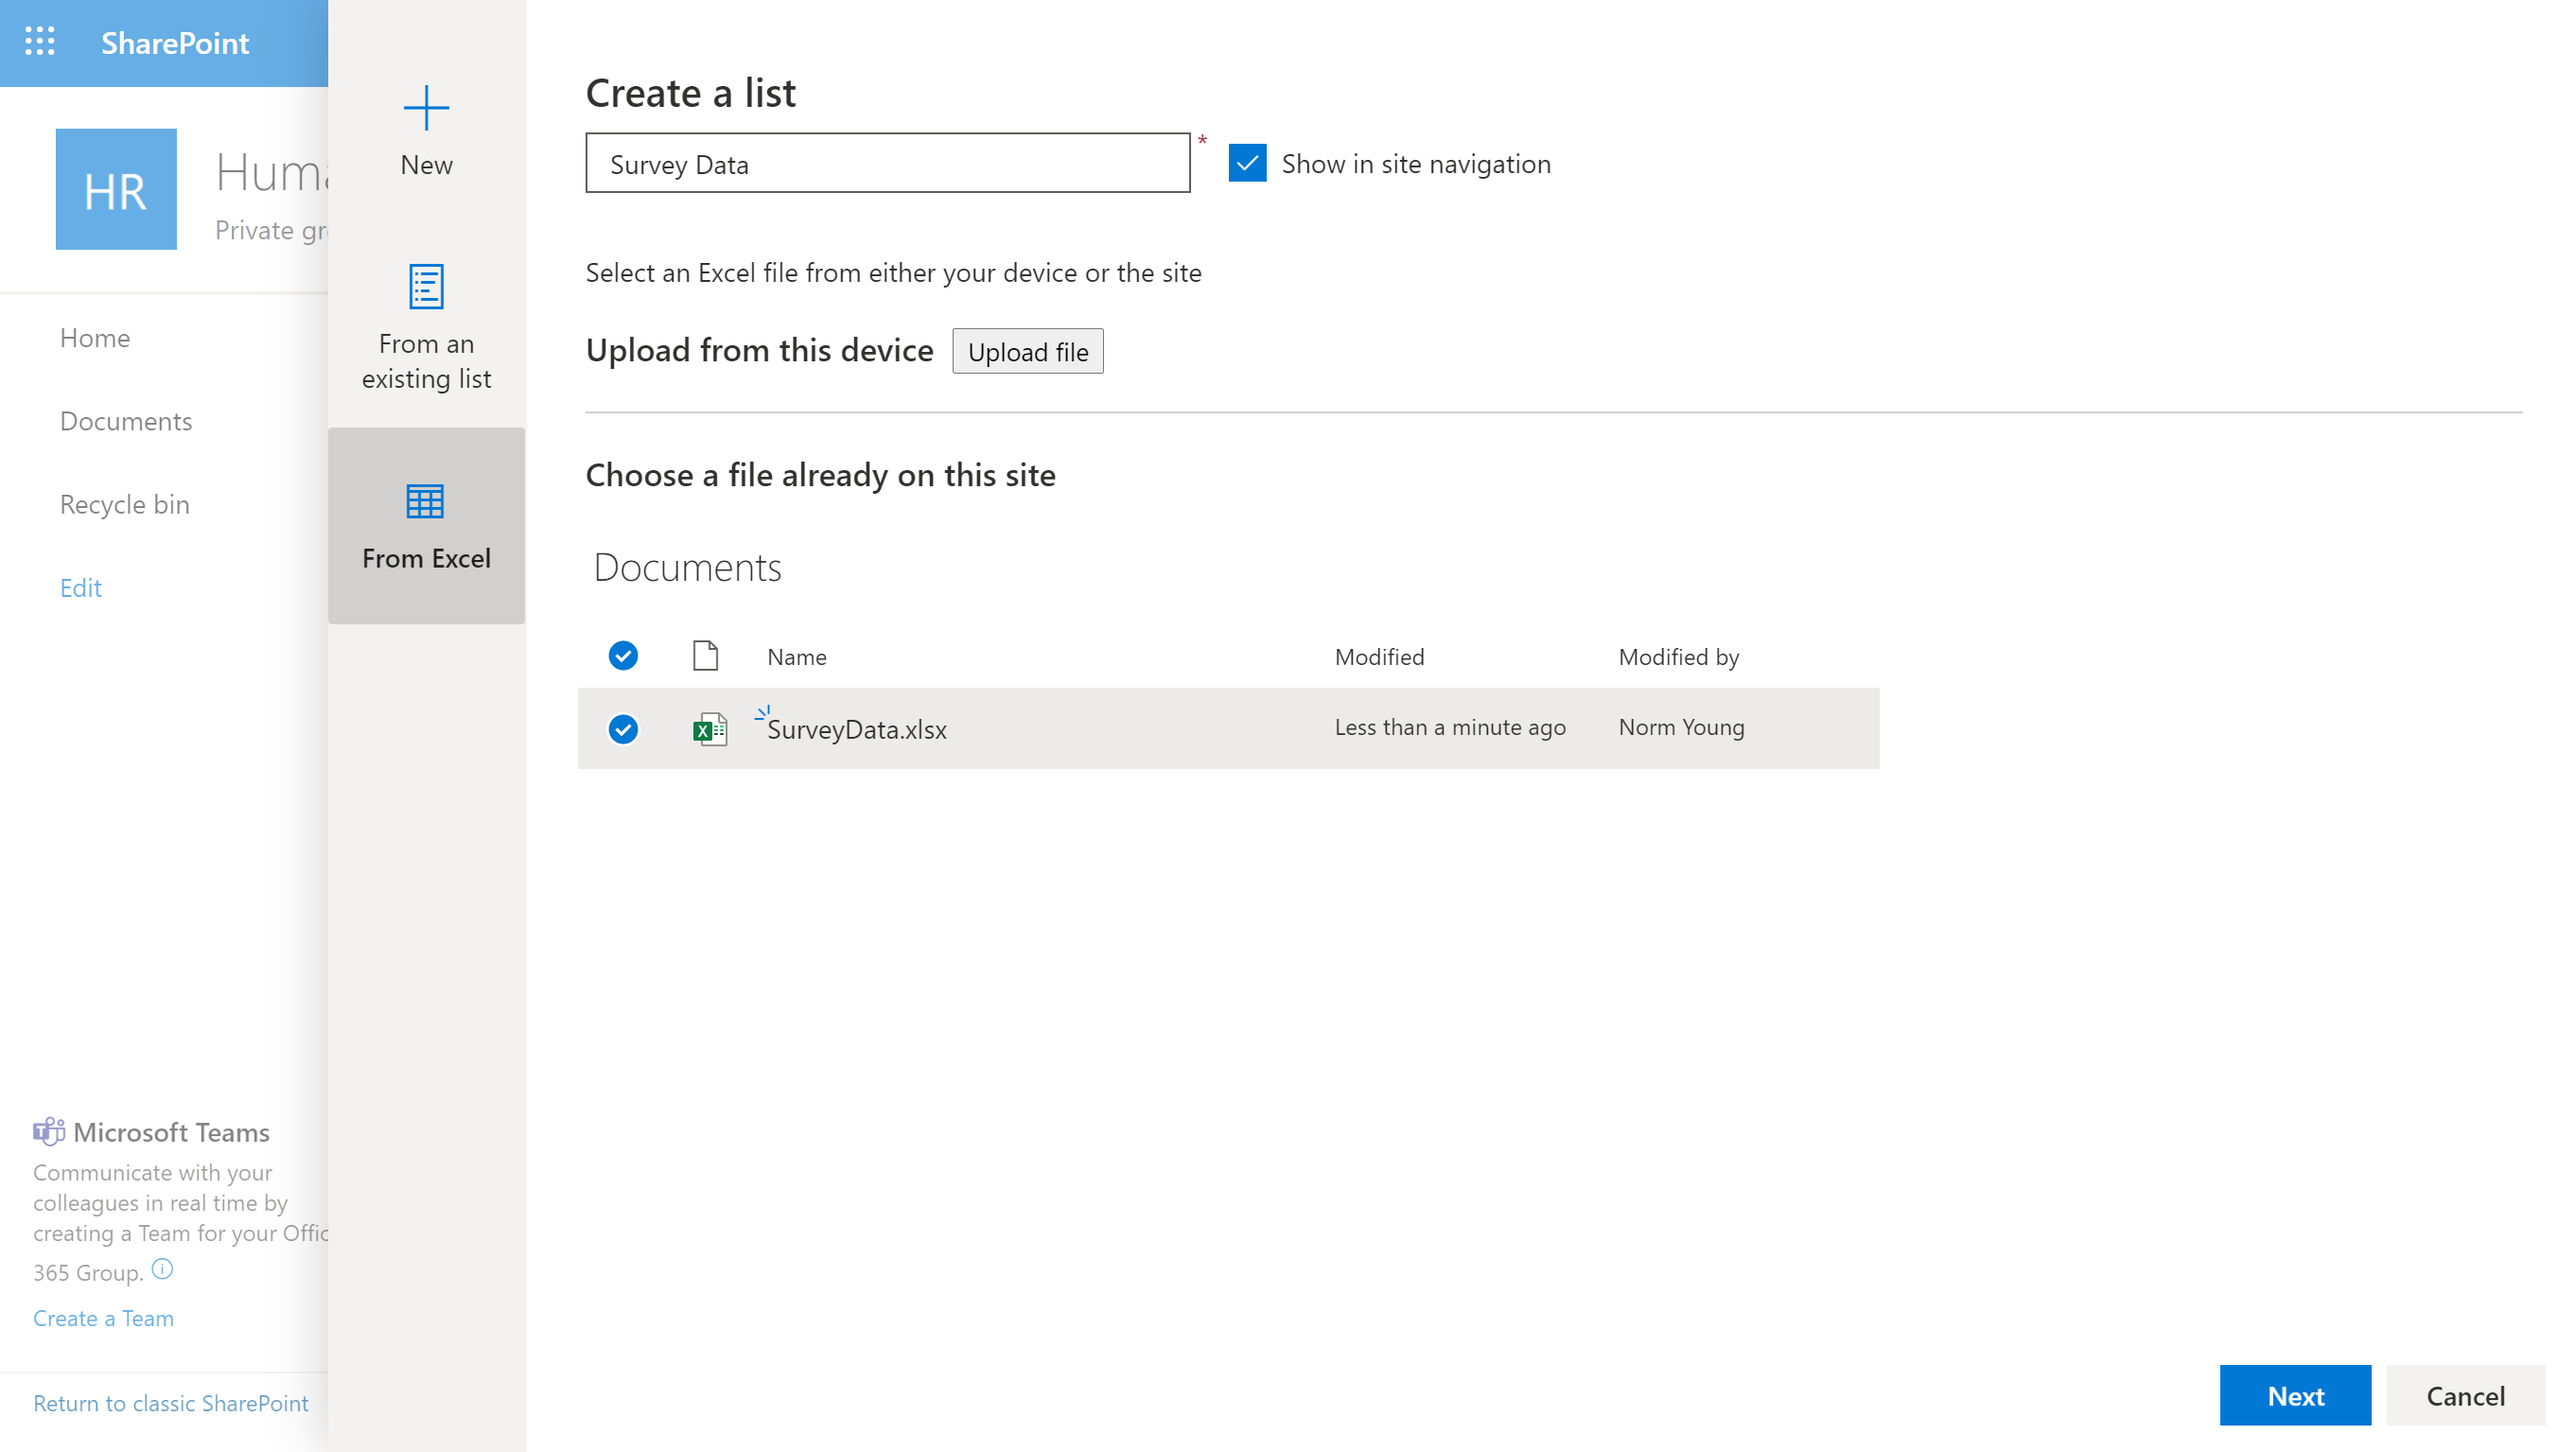
SharePoint supports the importing of "Tables" from spreadsheets to new SharePoint lists. From "Site contents":
-
Click "New" and click "List".
-
Click "From Excel"; provide a list proper name; upload a new spreadsheet or select an existing one and click "Next"
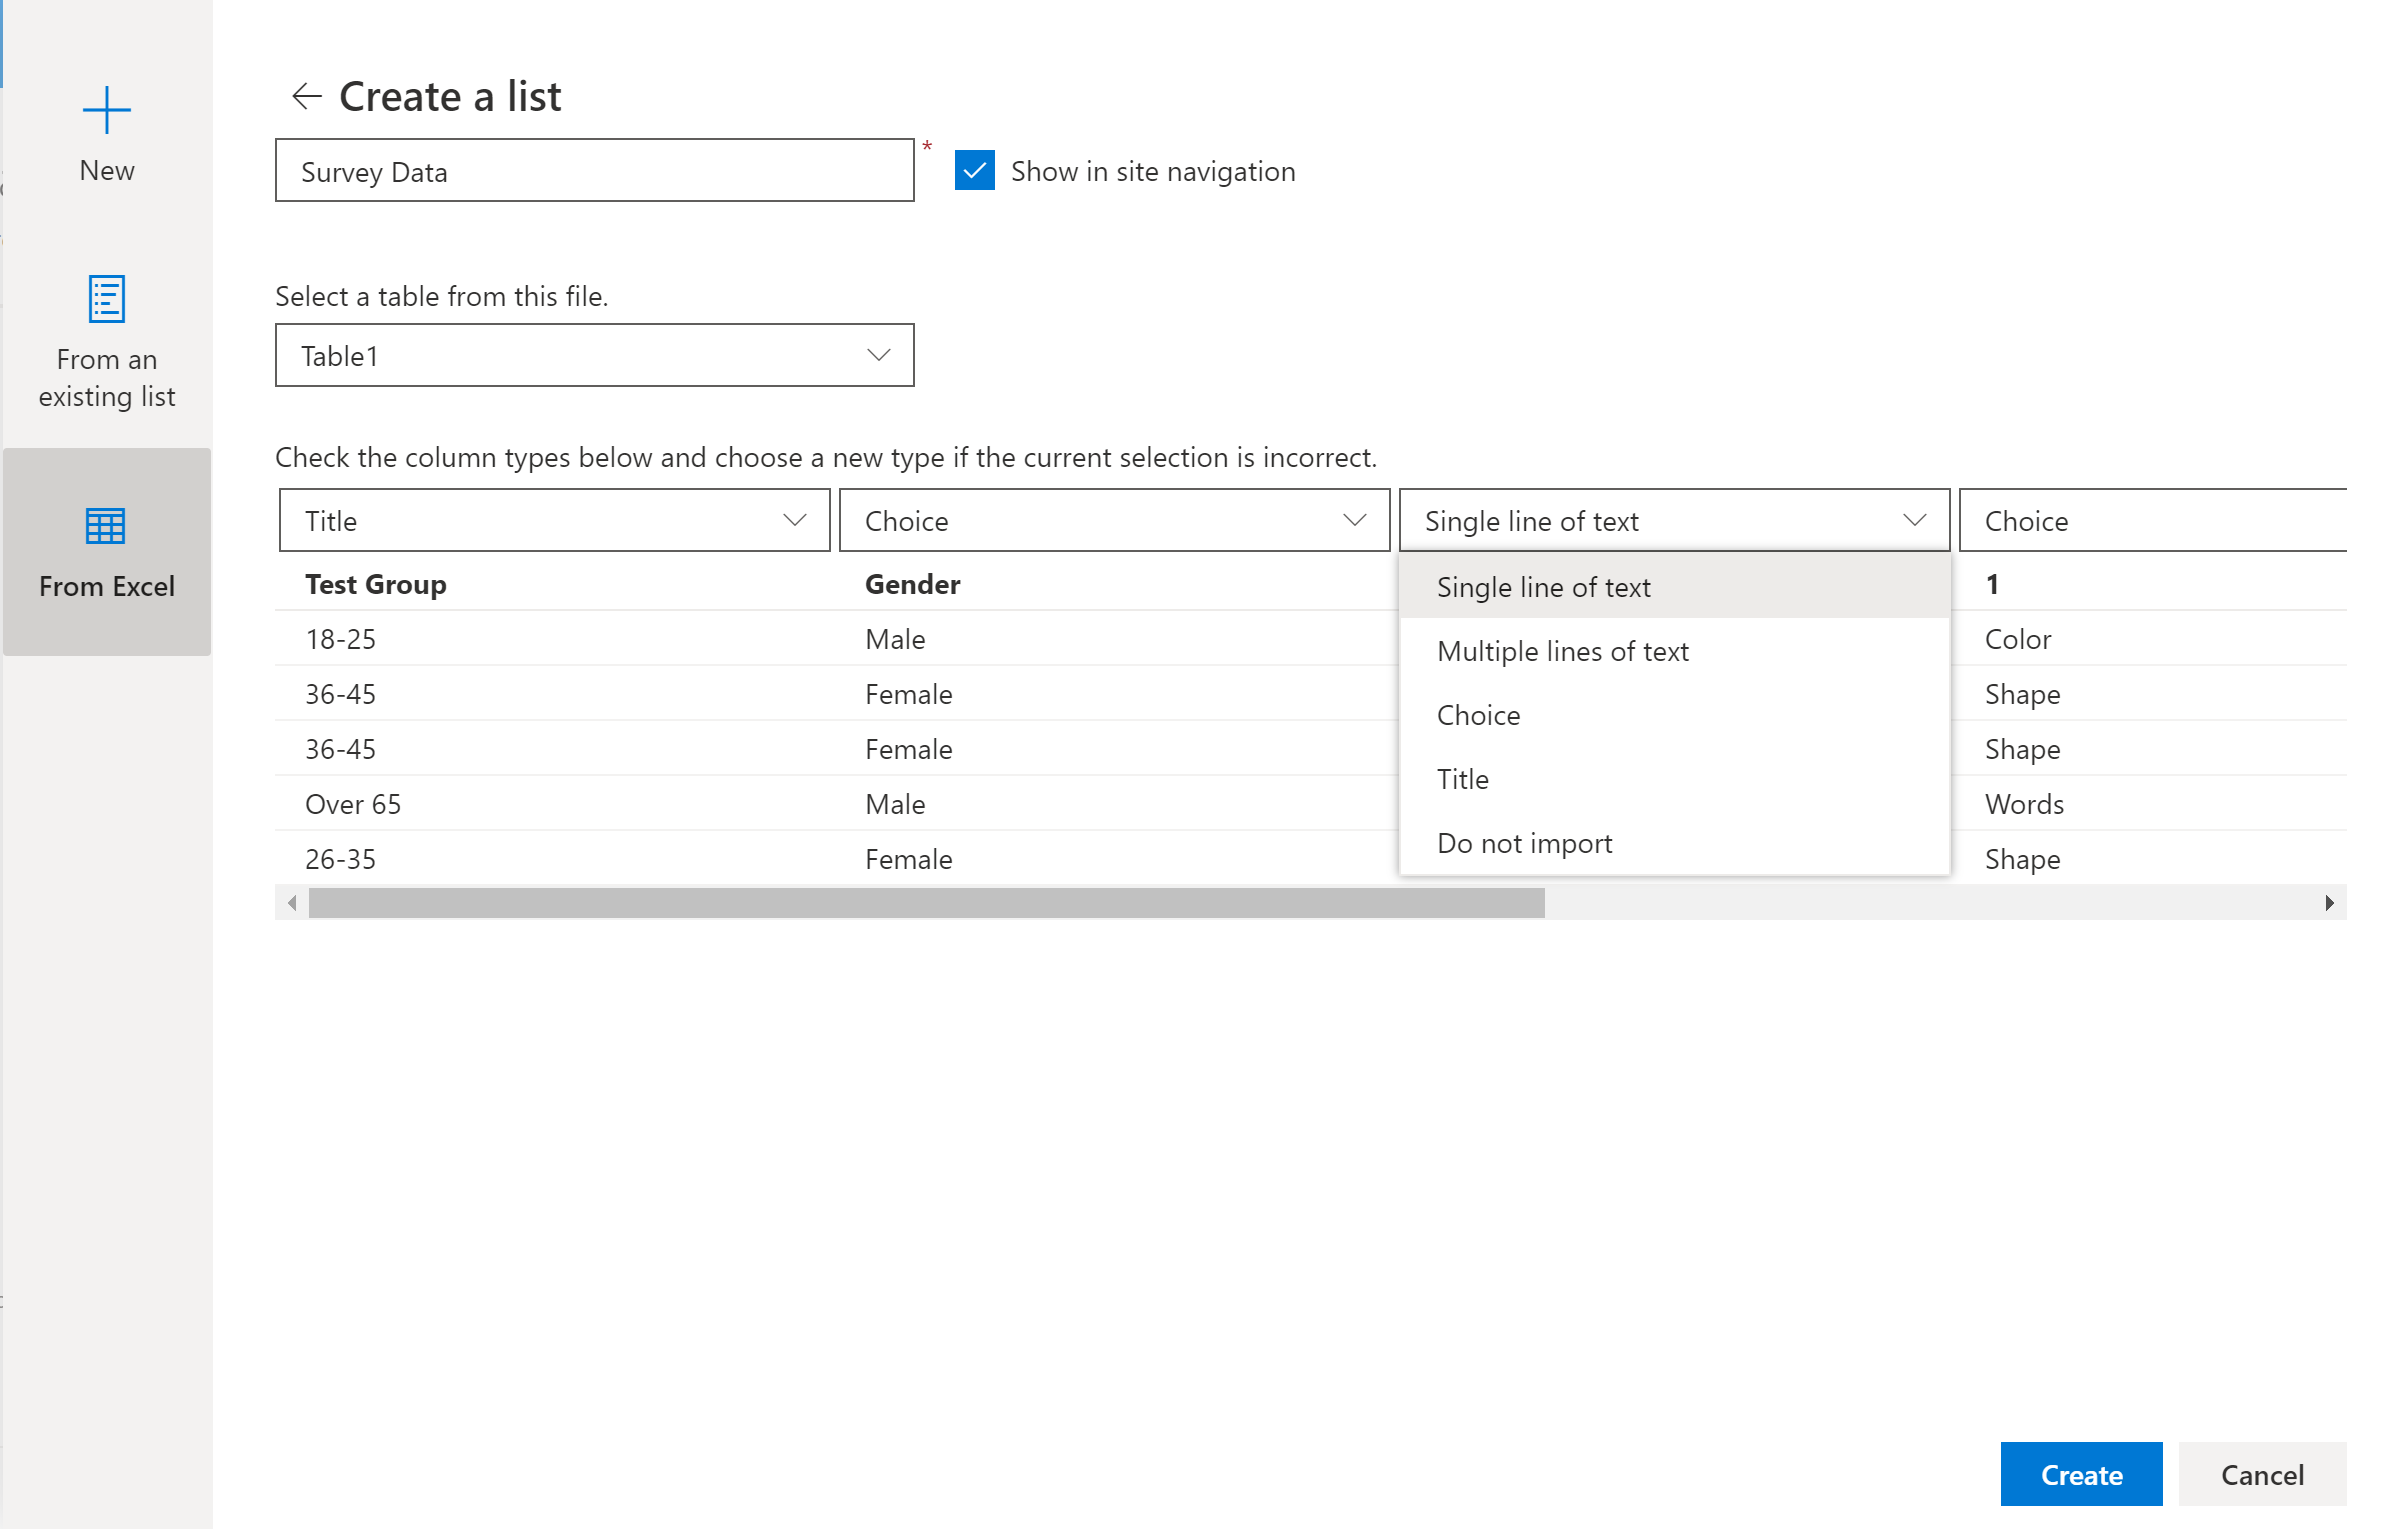
- Select the target "Table" from the spreadsheet; set the column types ("Single line of text", "Multiple lines of text", "Choice", "Championship" or "Do non import") and click "Create"
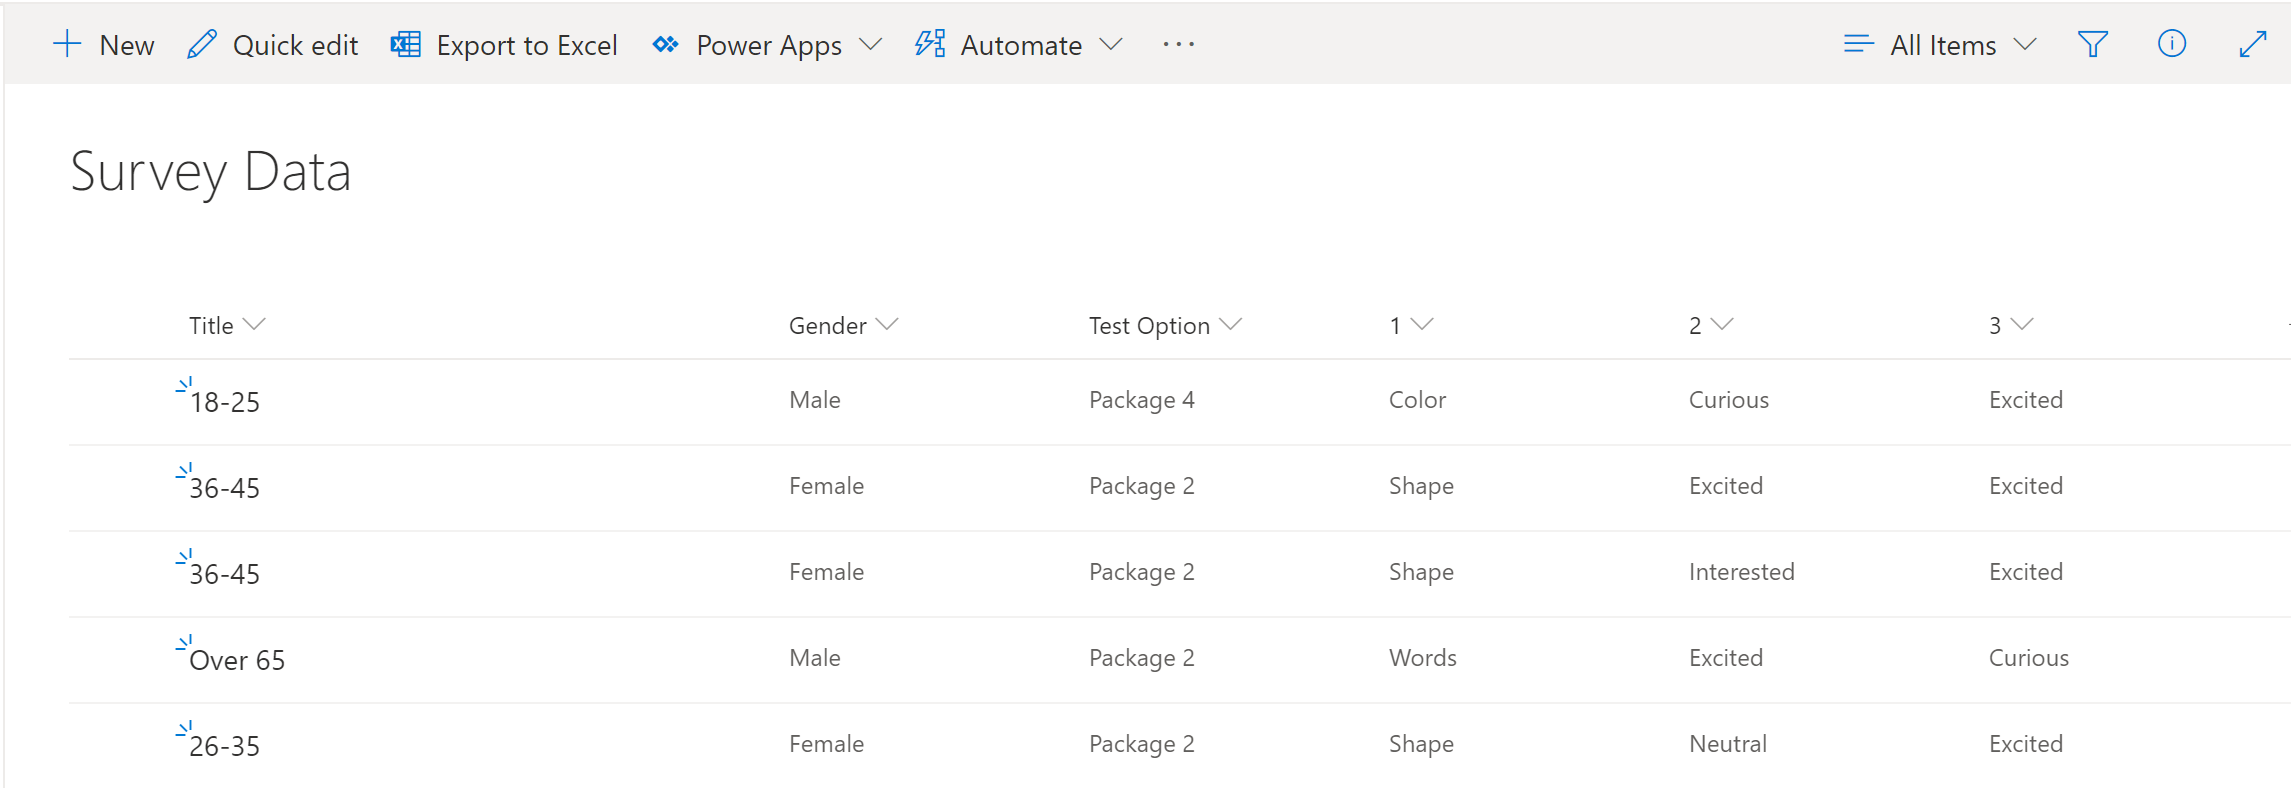
- Example imported listing shown beneath:
The SharePoint Migration Tool (SPMT) tin be used to import files into SharePoint. SPMT is especially useful when migrating a large volume of documents from a file share. Detailed information about SPMT can be plant on the Download and install the SharePoint Migration Tool page.
From your SPMT reckoner:
-
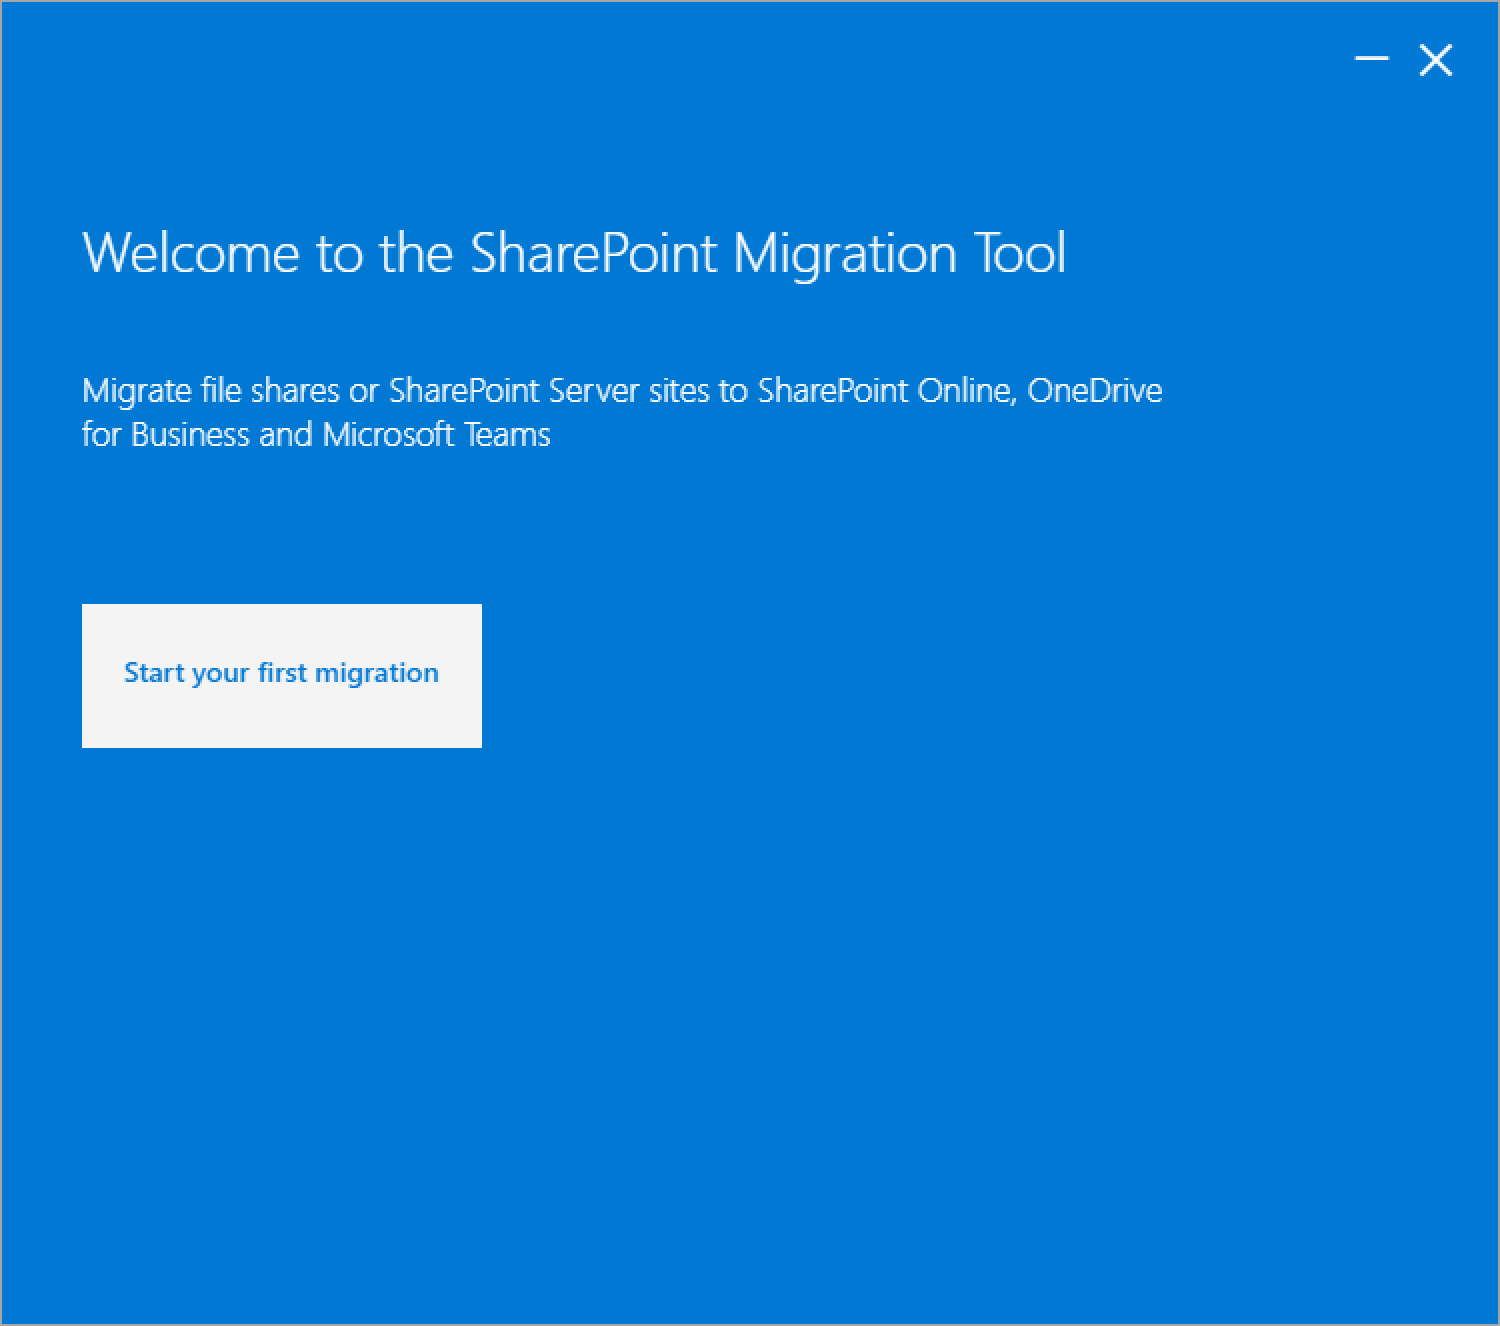
Open the "SharePoint Migration Tool".
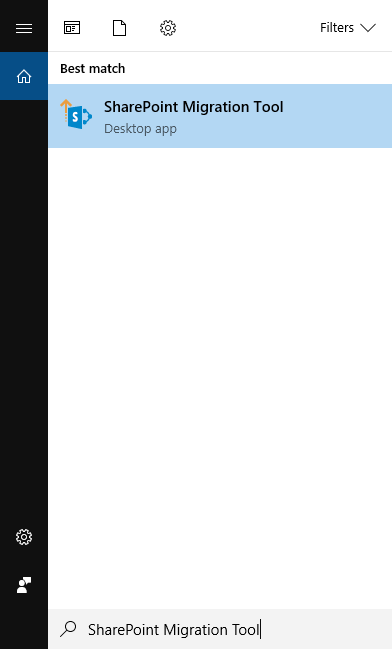
-
Click "Start your first migration".
-
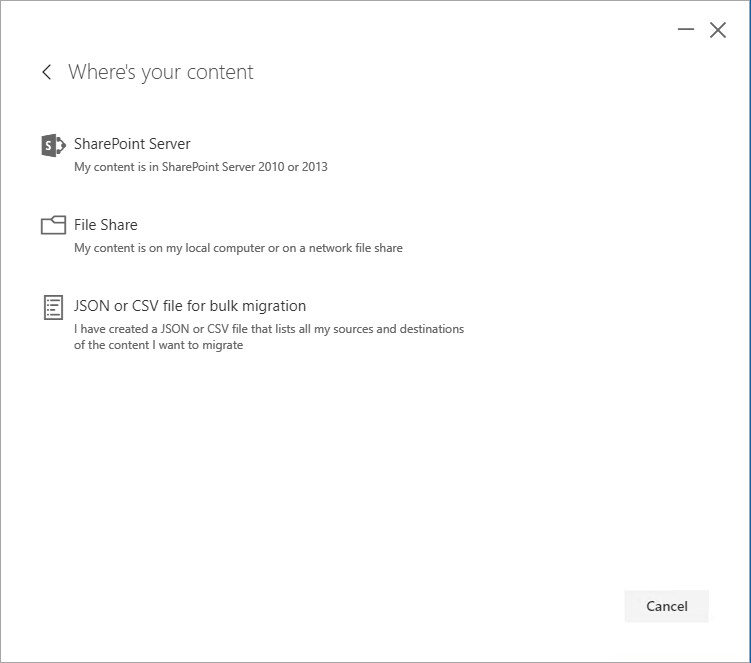
Click "File Share".
-
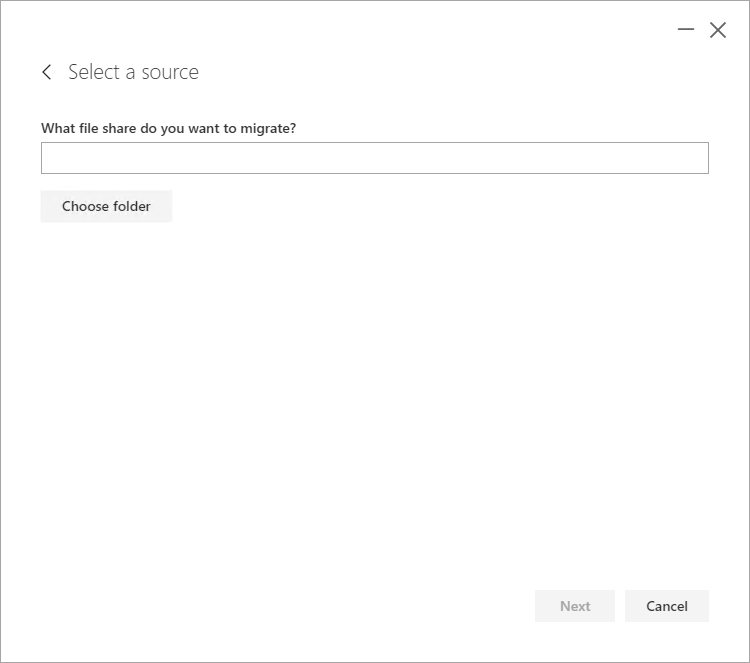
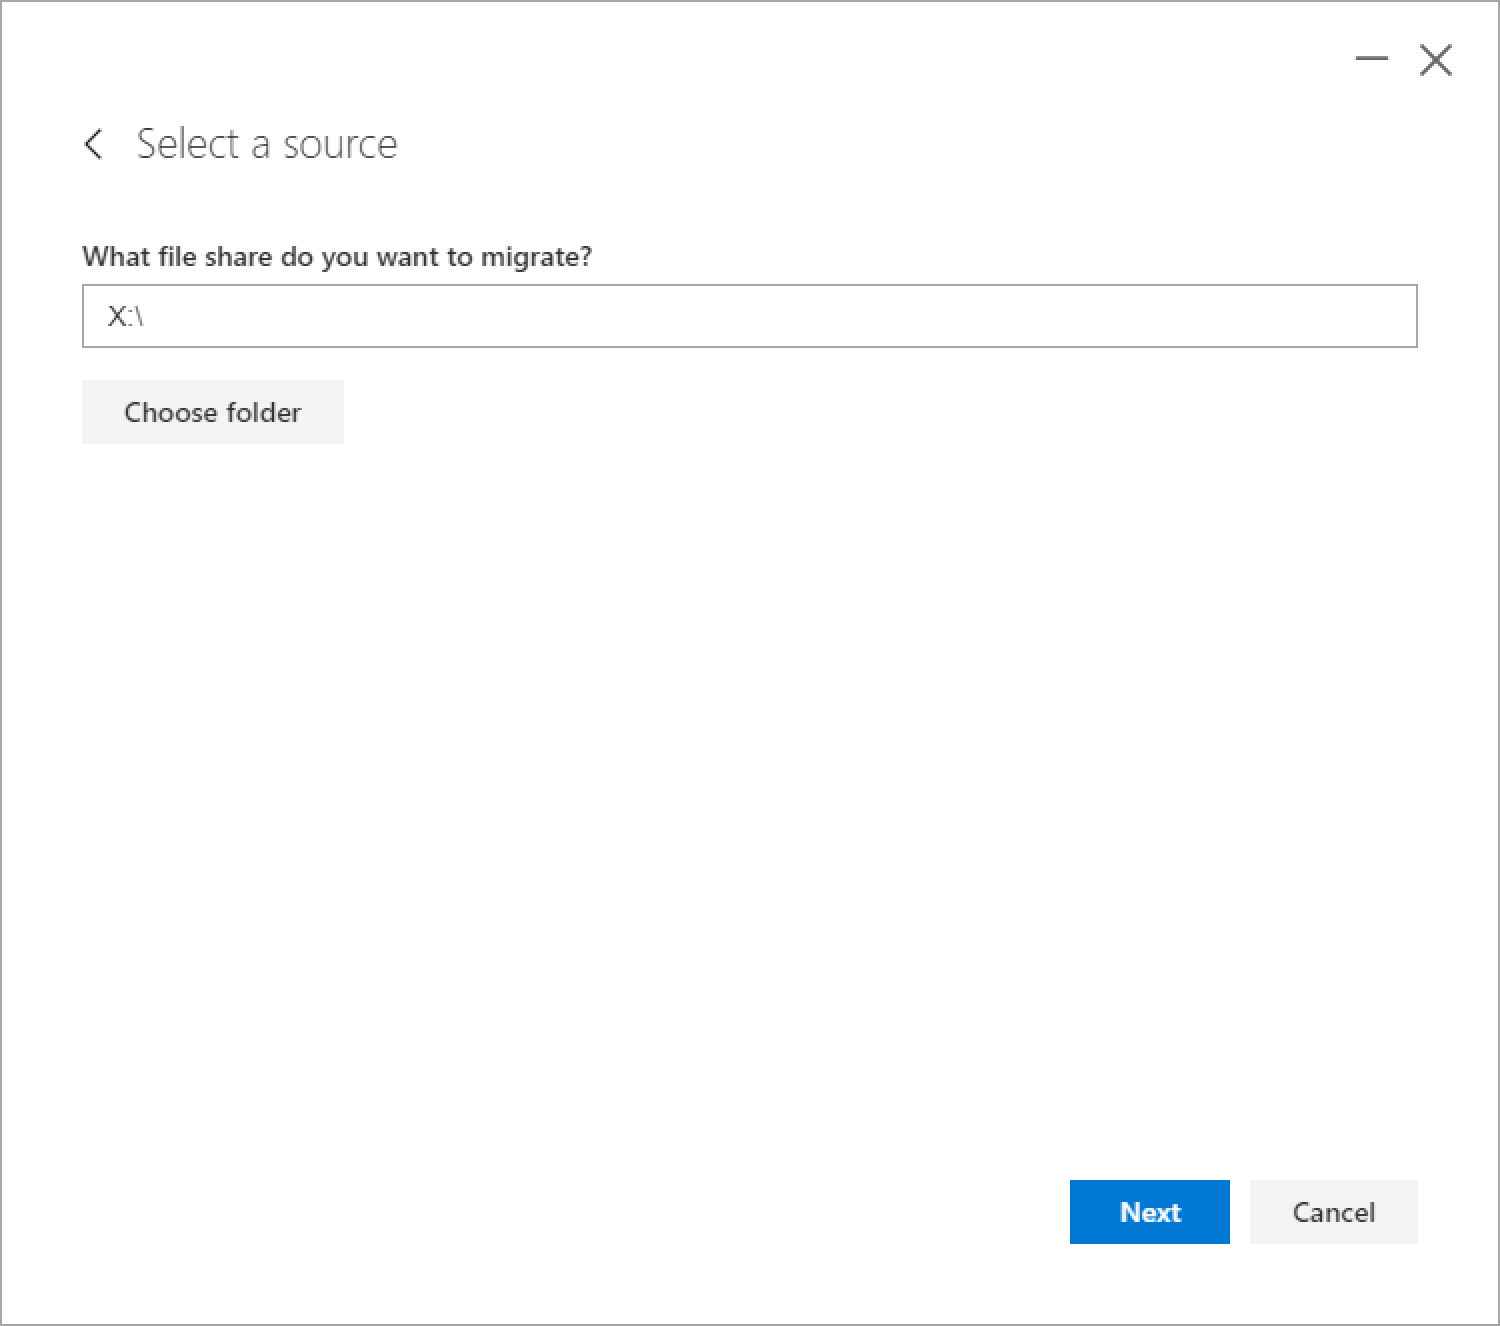
Click "Cull folder".
-
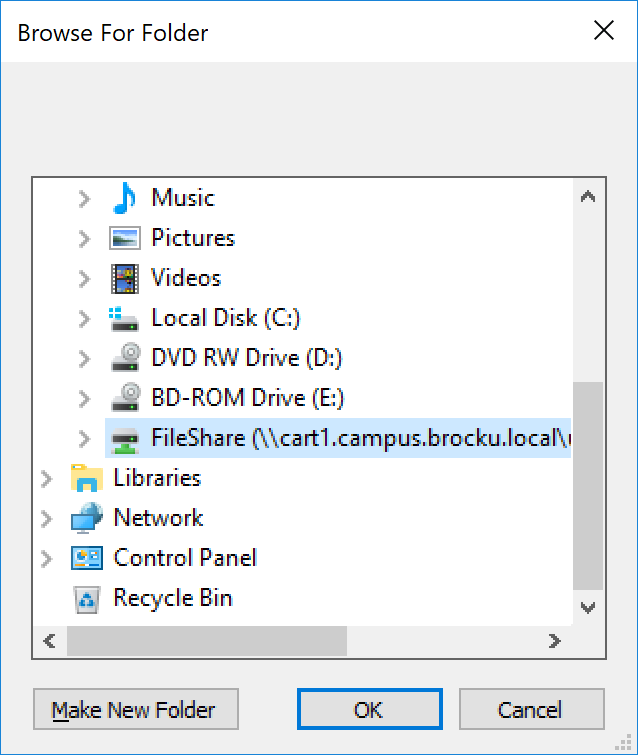
Select the source file share and click "OK".
-
Click "Cull folder" to select a specific sub-folder or click "Next" to go along.
-
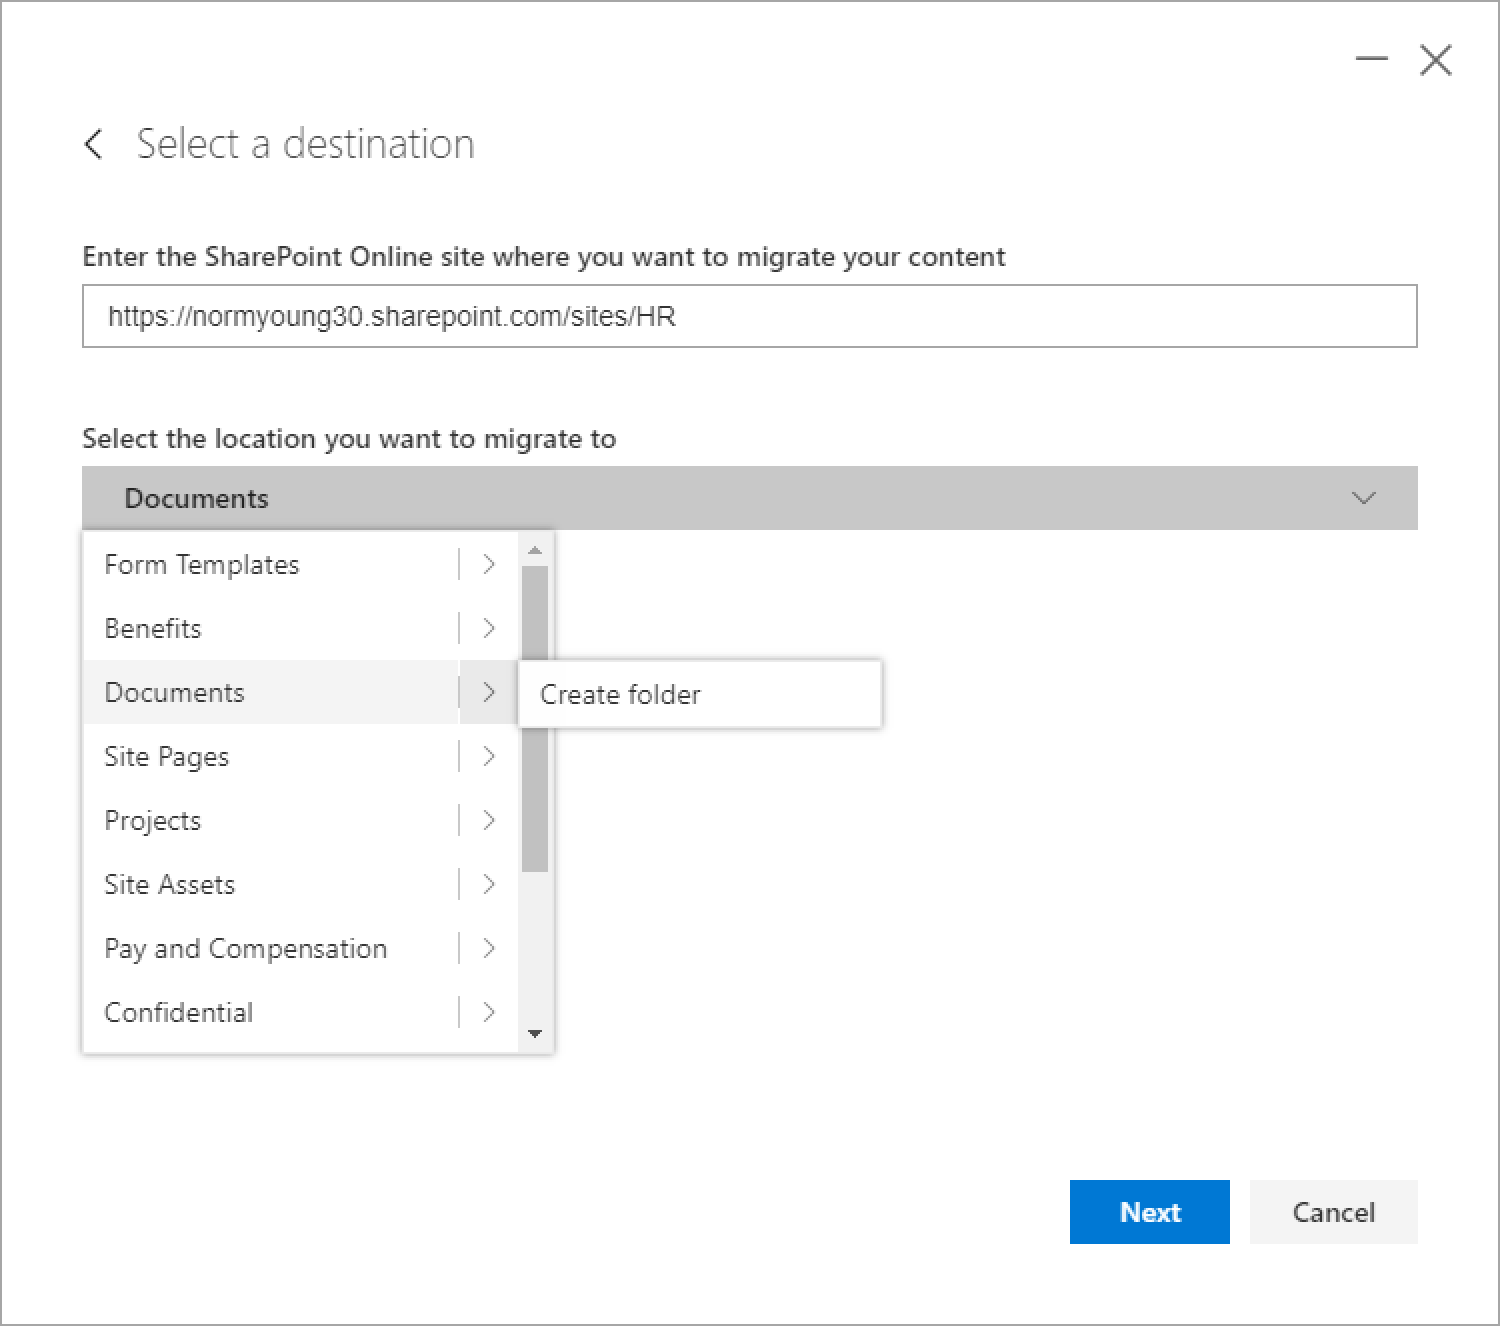
Enter the destination site URL and document library. Click "Next".
-
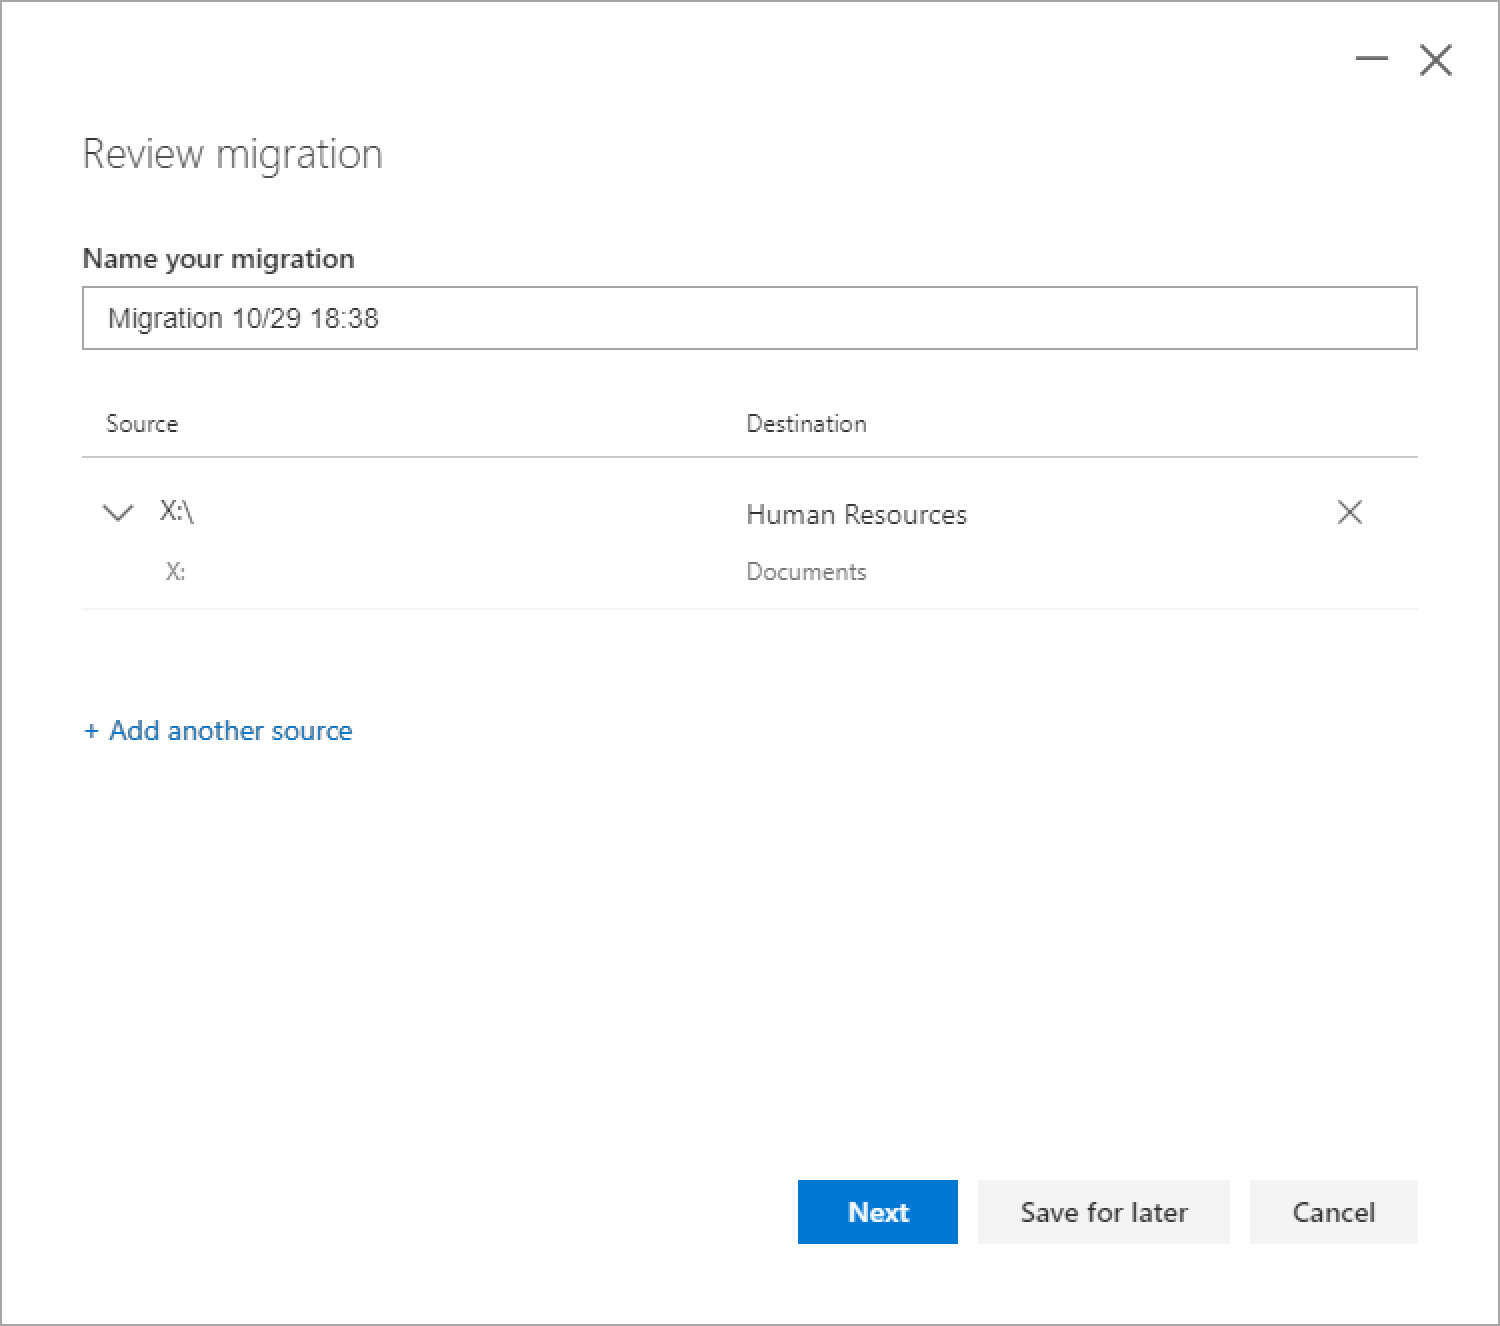
Name your migration if desired or click "Next" to go along.
-
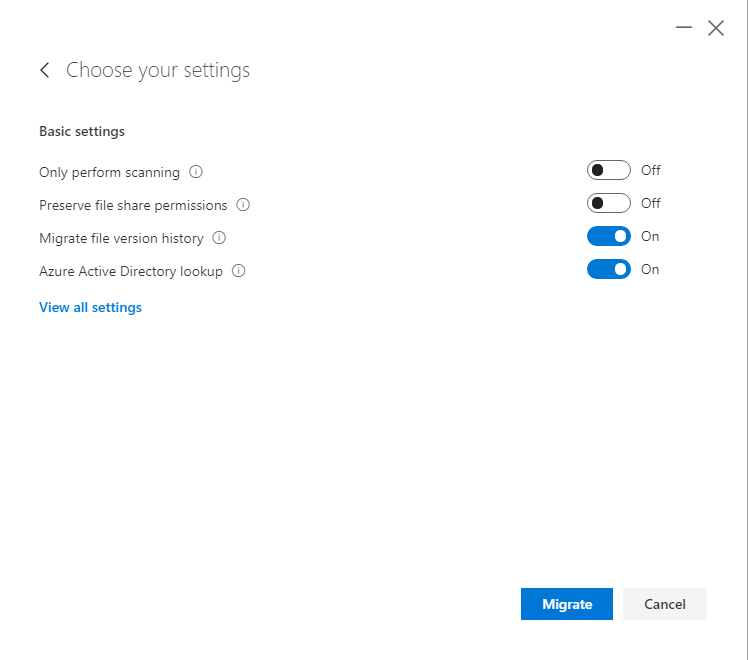
Update SPMT settings if required or click "Drift" to proceed. Detailed information on SPMT settings can be on the SharePoint Migration Tool Settings folio.
-
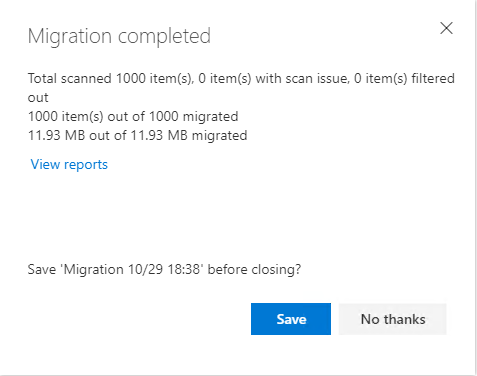
Click "Relieve" to shop the migration or click "No thanks" to continue.
-
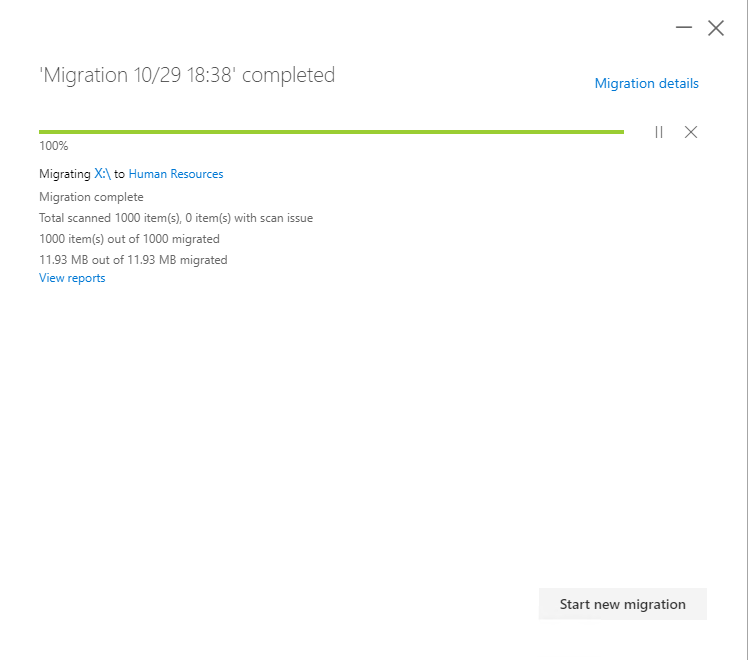
The summary screen will provide migration details and reports.
Document Libraries – Sync (Power user)
SharePoint document libraries back up the syncing of files between computer and site using Microsoft OneDrive. The OneDrive sync app is especially useful when migrating a large volume of documents from computer to SharePoint document library. Detailed information about OneDrive tin can be constitute on the Sync SharePoint files with the new OneDrive sync app page.
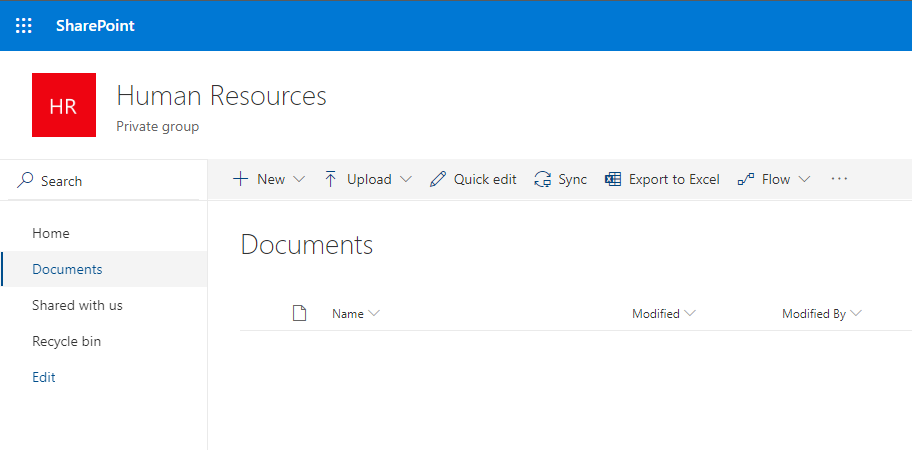
With the target site and document library open:
- Click "Sync".
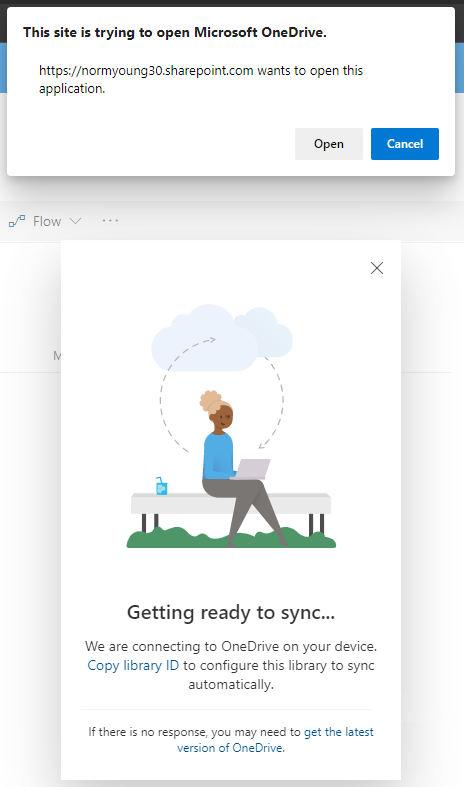
- Click "Open up" to the "Getting ready to sync..." prompt.
- Confirm you login account proper name and click "Sign in".
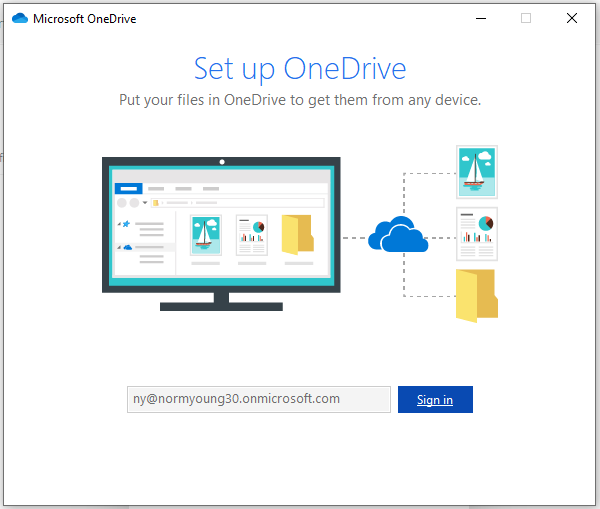
- Click "Adjacent".
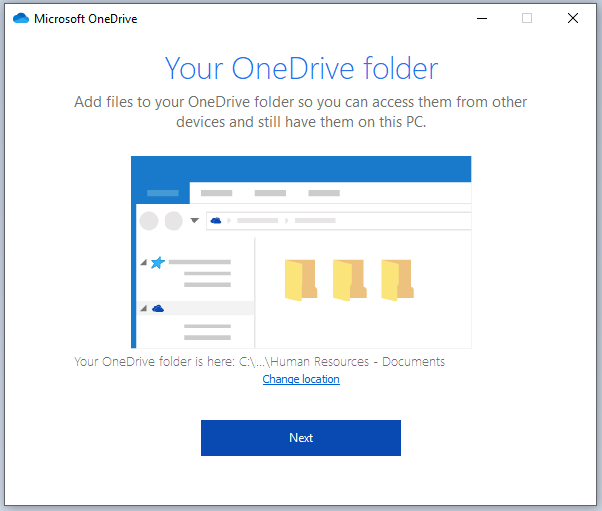
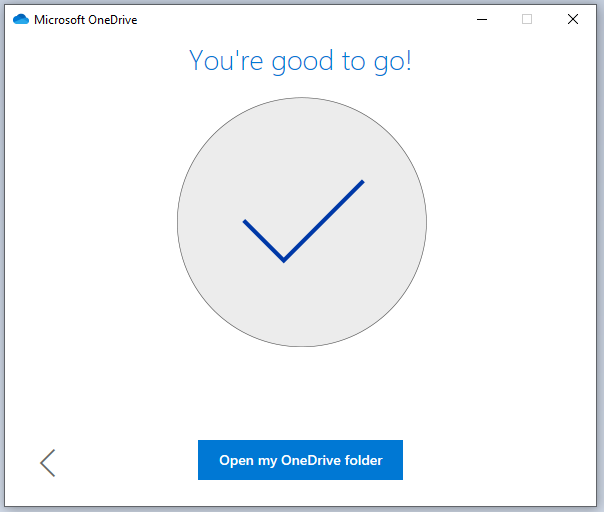
- Click through the "Welcome to OneDrive" screen and then click "Open my OneDrive binder".
Using Windows Explorer, open the source documents folder:
-
Select the source files / folders.
-
Drag to the destination sync certificate library and release.
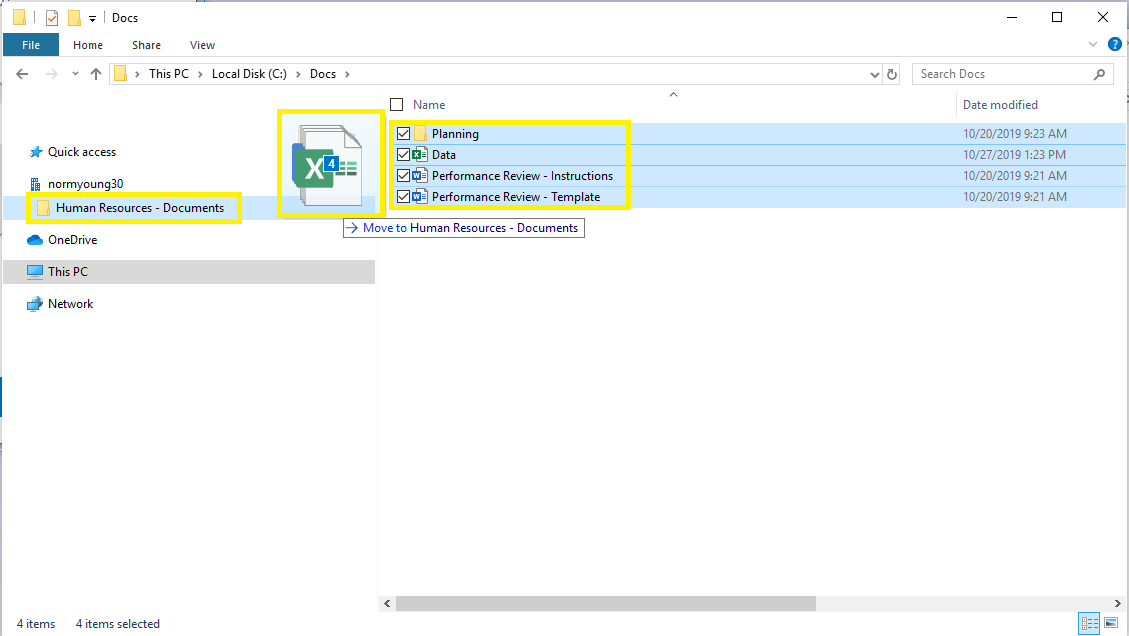
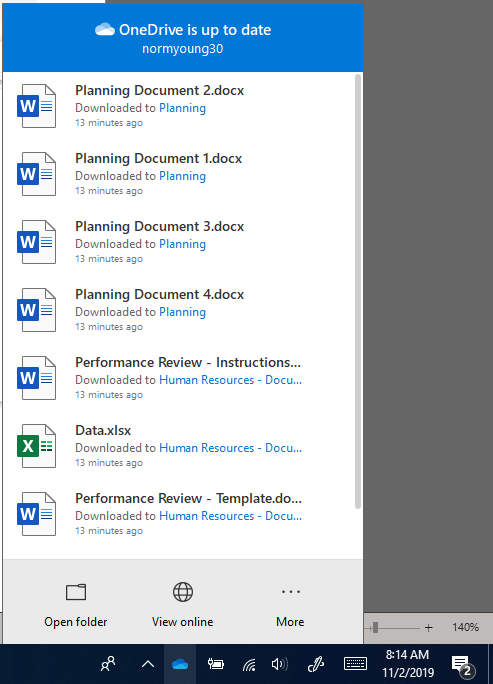
- Source folder and target document library will become synchronized.
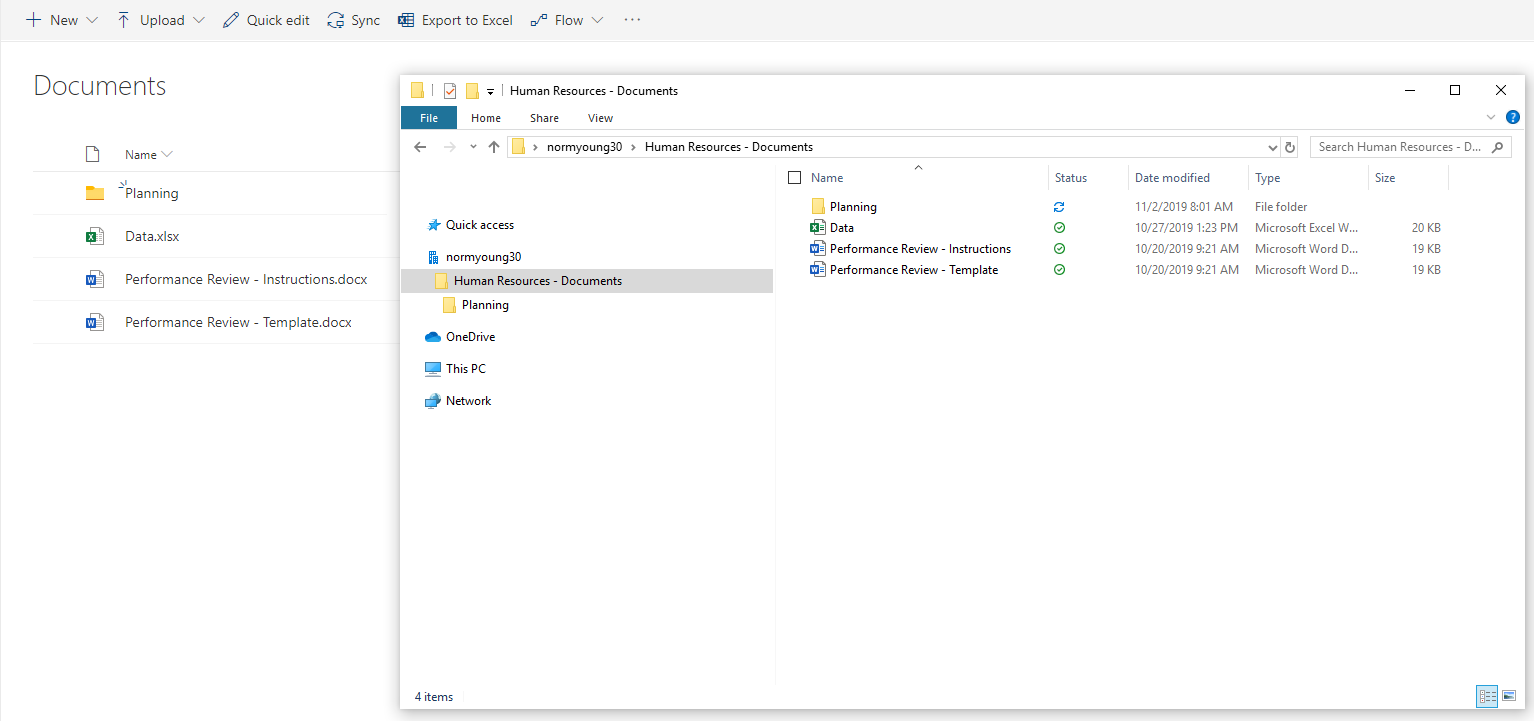
- See the OneDrive sync app in the organisation tray to view progress and whatsoever sync messages.
Master author: Norm Young
Feedback
Submit and view feedback for
Source: https://docs.microsoft.com/en-us/microsoft-365/community/importing-data
0 Response to "Fastest Way to Upload Documents to Sharepoint"
Post a Comment